
Embracing the Agony and the Ecstacy of this essential filmmaking tool
Today, we’re diving into an essential tool in your visual effects toolkit: Look-Up Tables, or LUTs. Whether you’re just starting out or have some experience under your belt, at some point you’re going to encounter LUTs, and if you don’t understand them, there’s a chance that your head might explode. So Let’s explore what LUTs are, the differences between creative and technical LUTs, and how to use them effectively.

What Are Look-Up Tables (LUTs)?
A Look-Up Table (LUT) is a mathematical formula that remaps the colors of your footage. Think of it as a filter that adjusts the colors and tones in your video or image to achieve a specific look or to standardize colors across multiple shots. LUTs are widely used in VFX, filmmaking, and photography to achieve consistent color grading or to create unique visual styles.
Creative vs. Technical LUTs: What’s the Difference?
There are two primary types of LUTs: creative LUTs and technical LUTs. While both serve important functions, they are used in different stages of your workflow.
Technical LUTs:
Technical LUTs are no fun, but essential to understand. Think about them like wearing tinted glasses - when you’re wearing shades, the colour of everything appears to change to the viewer (you), even though you know that the real colour isn’t changing.
Higher end cameras are generally recording more colour information than the naked eye can observe, and they store it in a way that doesn’t necessarily look naturalistic to us, which we’ll refer to as “raw”. Each make can record raw data in its own native way (arriRaw, redRaw, bRaw, etc).
You can (and will) convert this raw data to human readable information, which would be a different “colourspace”, generally sRGB or Rec. 709, but just like translating languages, when you switch between colourspaces, you can lose data in translation. So standard practice is to stay in the RAW colourspace that the camera filmed for as long as possible, and the editing/compositing/grading software will apply the tinted glasses - ie the technical LUT - necessary for you to view it correctly.
When you finish your whole project, that’s when you finally convert to a human-readable colourspace, which is why your audience doesn’t need a LUT to view it.
If that doesn’t make sense, please give it another read, or find someone who can explain it better, because you WILL hit the need to understand technical LUTs if you haven’t already, and if you apply them incorrectly, you can damage your whole project (to use the metaphor one more time…it’s like putting on the wrong glasses that make everything green, and then going and painting everything you see less green to correct it. It’ll look fine to you, but broken to everyone else)
Creative LUTs:
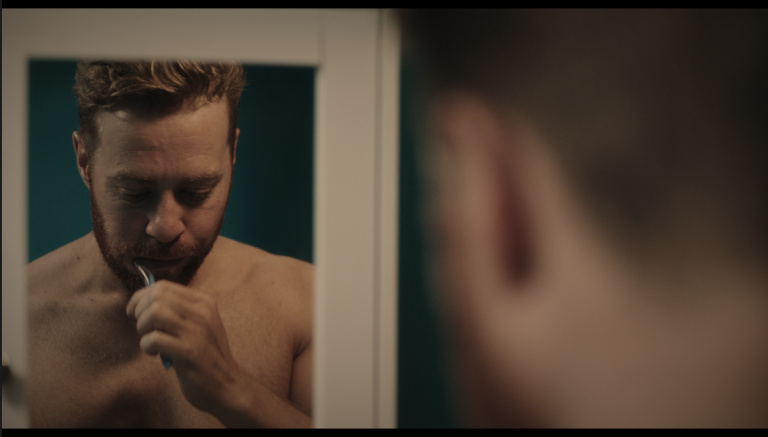
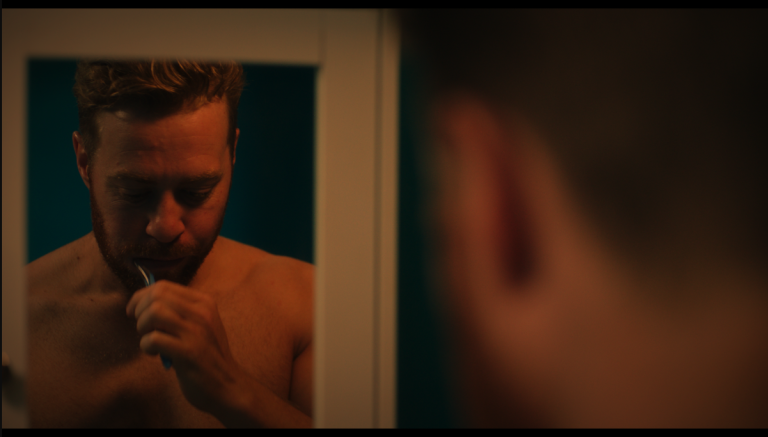
Creative LUTs, on the other hand, are used to impart a specific look or mood to your footage. These LUTs are often applied to add a stylistic grade that can transform the feel of your scene, from moody and dark to vibrant and colorful. These have nothing to do with correctness, and everything to do with defining the “feel” of your project (for example, for a moody sci fi feel, you might have a LUT that desaturates the colours, and skews them towards green/blue)
When to Use Creative LUTs:
- Mood Setting: Giving your footage a specific cinematic look or color tone.
- Quick Grading: Applying a consistent visual style across multiple shots or scenes.
- Experimentation: Trying out different styles quickly without needing to manually adjust settings.
Where to Find Free Creative LUTs
I actually don’t like to use pre-made LUTs, since I’m not a fan of plug and play solutions. If I want a Blade Runner feel to a shot, I don’t want to press a Blade Runner button, I want to study those shots to understand how they achieved that look. But you may not, so to help you get started, here are a couple resources where you can download free creative LUTs:
ShutterStock: A collection of 35 free LUTs that cover a range of styles, from vibrant to desaturated looks.
Color Grading Central: I’m a fan of these guys, their content, and their LUTs! Worth a deeper dive if you’re interested in grading
Final Thoughts
It’s essential that you have at least a basic understanding of the need for technical LUTs. You could go your whole career never making or using a creative LUT, but you’d be missing out on a lot of fun! By mastering both technical and creative LUTs, you can significantly enhance the visual impact of your work and develop a consistent, professional style.