
WHAT TO GET, WHEN TO GET IT AND WHAT TO ADD IN LATER
Clean sound is about ten billion times more important than a clean picture, so if you're filming then you'll want to leave the set with everything that you need to get the audio working in the edit.
Of course, lots of sound effects (SFX) are added in post, but re-recording an actor's speech to dub it in post (ADR) can be an absolute nightmare, and is best avoided.
Get a Boom Mic
The safest bet is to get a boom mic and spend a bit of time practicing using it. Sure, it'll get dinked into the frame a few times, but paint out is quite a bit easier these days if you're using AI (and if you're using one of our nifty templates).
Or a Lavalier
There's also the option of just using a lavalier mic (small mic, attached to clothing near the face. YouTubers love not attaching them and holding them to be cool), which has the obvious downside of potentially being visible. But again, it's removable in post, and guarantees you a base level of "good enough" sound quality, which is much better than "not good enough!"
Listen Back
Whatever you do, make sure you're listening back to the recordings, to make sure that you're getting what you need. It's too easy to get sidetracked by the visuals (certainly if, like me, your background is in visuals), but they're only half the battle.
Ten seconds of discipline on set saves hours in the edit. Here's a cheat sheet to get you up to speed with recording on set.
What's inside
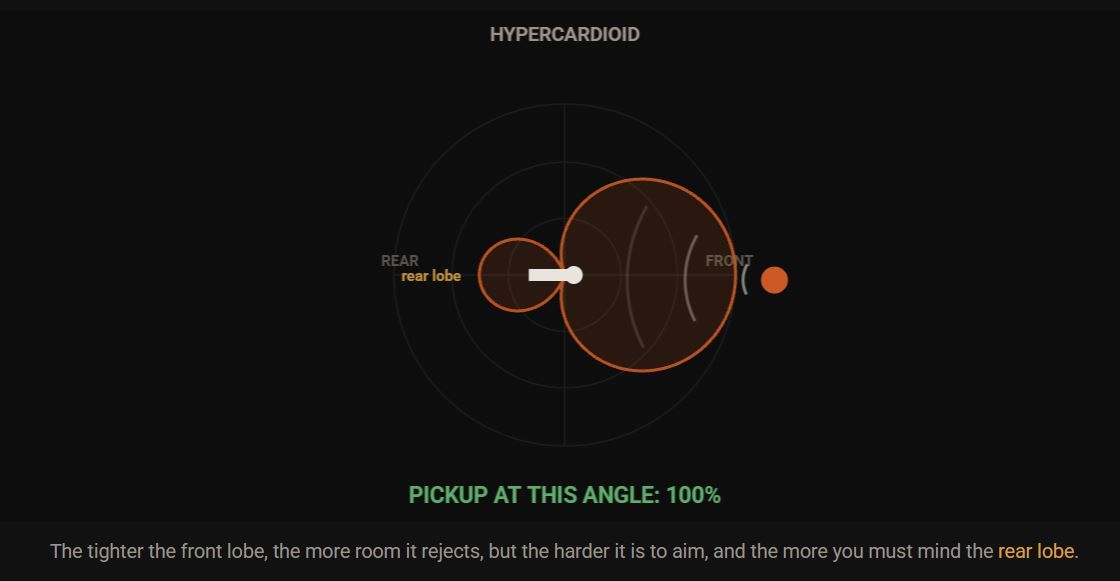
- Mic distance and pickup patterns
- Shotgun vs lavalier vs on-camera
- Setting your levels
- Boom technique
- Hunting down noise
- Phone vs field recorder
- Bit depth (16 vs 24 vs 32-float)
- Room tone
- The on-set checklist